Install Motion Garage Lights Under $40 in Australia (20 Min)
Walk-in lights, walk-out dark — no sparky, no rewiring. A practical under-$40 motion garage lighting install for Australian homes, plus fixes for false triggers, weak adhesive, and dead zones.
If your garage stays pitch black until you fumble for a switch, you can fix that in about twenty minutes with stick-on motion lighting — no electrician and no rewiring.
This guide is for homeowners and small businesses in Australia who want walk-in-on, walk-out-off garage light using battery or USB-rechargeable LED motion units you can buy locally for under $40 all-in. Garden Pie helps with this exact on-site setup and troubleshooting across our service areas, and you can start a conversation via the Garden Pie landing page if you would rather have a specialist finish the job cleanly.
Why motion garage lighting matters (and why this method works)
Australian garages are often separate from the house, poorly lit, and full of trip hazards — tools, bikes, steps, and oil stains. A ceiling GPO and hardwired sensor is ideal, but many people do not want a sparky call-out for a simple “lights when I enter” behaviour. Modern battery PIR LED bars and puck lights solve that: peel, stick or magnet-mount, set the timer, walk the path once, and you are done.
The goal is simple. Sensor sees movement in the doorway or main bay, LEDs come on at usable brightness, hold for a short delay while you unload the car or grab the bins, then switch off so you are not wasting battery or leaving a light on overnight. No new cable runs. No switch plate changes. No touching the fixed wiring.
Can you install motion-activated smart garage lighting in Australia for under $40 without an electrician?
Yes. Choose a battery or USB-rechargeable LED motion light with a passive infrared (PIR) sensor, mount it on a clean surface aimed at the entry path, and set a short on-time. You stay under a modest parts budget when you buy a single solid unit (or a small multi-pack) from a hardware retailer and skip smart hubs you do not need. Book a specialist only if mounting surfaces fail, coverage has dead zones you cannot solve with placement, or you decide you want hardwired work after all.
| SymptomQuick fixWhen to call Garden Pie | ||
| Light ignores you at the door | Lower aim, clear lens, test fresh cells | Multiple dead zones after two placement tries |
| False triggers all night | Narrow angle, raise height, shorten timer | Heat sources or street motion still trip it |
| Unit falls off in summer heat | Clean, dry, add screws or magnetic plate | Masonry/metal mount needs proper fixings |
What to buy and what to bring to the job
Keep the kit simple so you stay on budget and on time.
- One wide-beam battery or USB-rechargeable LED motion light (or a small pack of pucks) with adjustable on-time and, if possible, a dusk sensor so daytime sun does not waste charge.
- Alkaline or lithium AA/AAA cells if the unit is not rechargeable — lithium holds up better in hot garages.
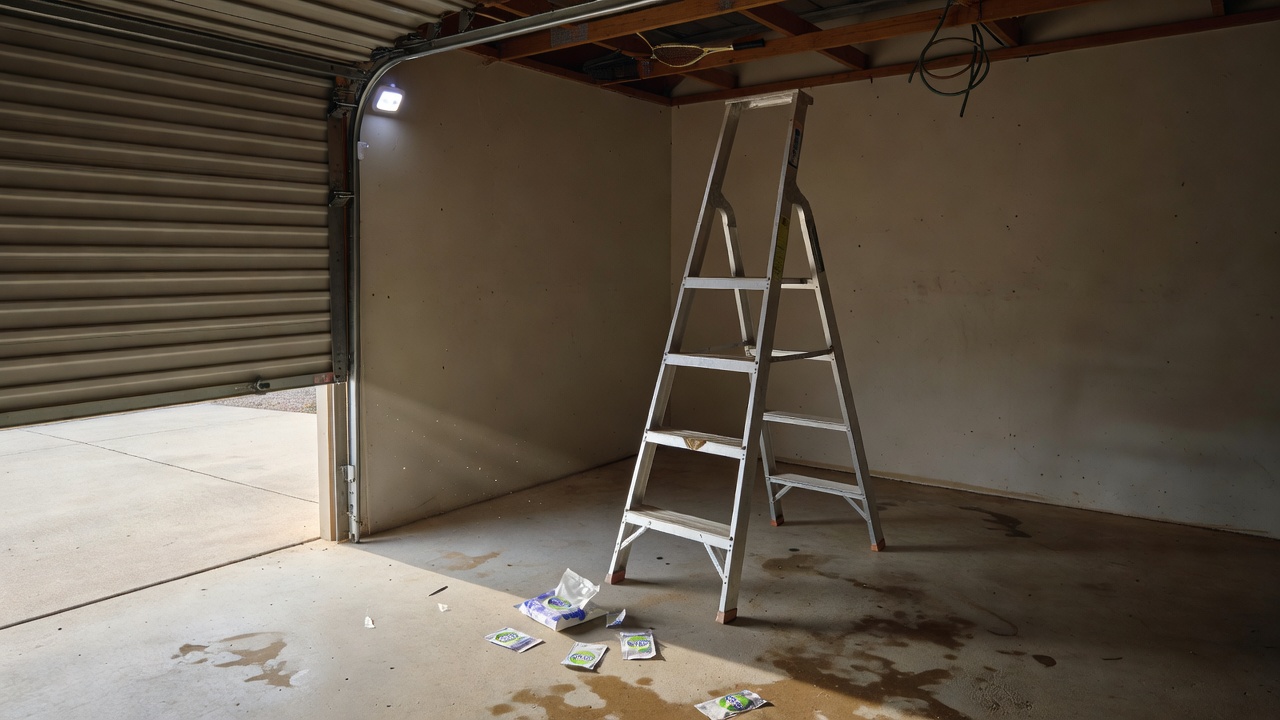
- Isopropyl alcohol wipes, a microfibre cloth, a pencil, a small spirit level, and a stepladder rated for your weight.
- Optional: small stainless screws and wall plugs if the surface allows, or a magnetic mounting plate for steel beams.
You do not need Wi‑Fi, a hub, or app pairing for basic walk-in lighting. “Smart” here means automatic on presence — not a cloud subscription. If a product demands an account just to turn on with motion, pick a simpler PIR LED bar instead.
Complete install: walk in lights on, walk out lights off
Work in daylight so you can see surface prep. Total hands-on time is usually around twenty minutes once parts are on the bench.
Step 1 — Plan the detection path
Stand at the main pedestrian door and at the vehicle entry. Note where your body moves first. The sensor should see torso movement across that line, not the far back corner of the garage. Mark one primary mount point 2.1–2.4 m high on a wall or beam facing the path, slightly offset so car headlights do not stare straight into the lens.
Step 2 — Prep the surface like paint depends on it
Dust, silicone overspray, and summer heat kill adhesive. Wipe the mount area with isopropyl alcohol. Let it flash dry fully. Do not mount on peeling paint, crumbly render, or damp concrete. If paint is chalky, choose a screw mount into sound material or a magnetic plate on steel instead of trusting foam tape alone.
Step 3 — Power and mode check on the ground
Fit fresh cells or charge the pack fully. Set the PIR to a short test mode if available, or the lowest on-time (often 15–30 seconds). Cover any “only in dark” photocell with your hand if you are testing in bright light, or wait until the garage is dim enough for the unit’s night logic. Wave your hand across the lens at 2–3 metres and confirm a clean on/off before you climb the ladder.
Step 4 — Mount square and aim down the path
Peel the adhesive in one go, press firmly for 30–60 seconds, or drive the supplied screws snug — not crushing plastic housings. Tilt the head so the detection cone covers the doorway first, then the centre bay. Avoid aiming at the street, a sunny window, or a radiant heater. If the kit includes a magnetic base, seat it fully so vibration from the roller door does not walk it loose.
Step 5 — Live walk test
Open the pedestrian door at normal speed, walk to the workbench, pause, then leave and close the door. The light should ignite as you cross the threshold, stay on while you are moving in the bay, and extinguish after the timer once the space is still. Adjust angle in small increments only. Lengthen the timer if you routinely unload shopping; keep it short if the unit is battery-only and you want months between changes.
Step 6 — Final set-and-forget
Set the permanent on-time, enable the dusk sensor if you want daylight savings of battery, and write the install date on a piece of tape inside the housing or on the manual. Recheck adhesion after the first hot afternoon. That is the full no-rewire path: enter, light; exit, dark.
Common issues with budget motion garage lights
These are the problems Australian DIY installs hit most often — different root causes, not the same complaint twice.
1. Light stays dark when you enter
Symptom: you walk in and nothing happens until you wave directly under the unit, or it never wakes at all.
2. Nuisance triggers and battery drain
Symptom: the light flashes when cars pass outside, when the roller door moves, or randomly at night; cells die in days.
3. Unit drops off in heat or on dusty brick
Symptom: you find the light on the floor after a hot day, or the pad peels at one corner within a week.
4. Light cuts out while you are still working
Symptom: timer is too aggressive or the sensor loses you at the bench because the cone only covers the door.
How to fix each issue (DIY first)
Fix: light stays dark when you enter
- Replace cells with a known-fresh set; rechargeables that read “full” on a cheap bank can still sag under LED load — try alkalines or lithium once for diagnosis.
- Clean the Fresnel lens with a soft dry cloth; paint mist and cobwebs blind PIR sensors.
- Lower the aim toward the doorway and retest at walking speed from outside the threshold, not from under the lamp.
- If the unit has a lux (daylight) dial, open it slightly so a shaded garage still counts as “dark enough.”
- Confirm you did not mount behind a beam or shelf that masks the cone — the sensor must see skin/clothing movement in open air.
If two alternate mounting points still leave a dead zone at the only door you use, stop stacking cheap units and book an on-site visit so placement or a different fixture type can be sorted properly.
Fix: nuisance triggers and fast battery drain
- Shorten the on-time to the minimum that still covers your typical task.
- Raise the unit and angle it downward into the bay so street motion and sun-warmed driveways fall outside the cone.
- Move away from the roller-door motor, exhaust pipes, and west-facing metal that spikes in afternoon heat — PIR senses heat change, not “people only.”
- Disable hypersensitive “pet” or “long range” modes if the product offers them; garage bays need a medium cone, not a driveway flood pattern.
- Seal large street-facing gaps only if you already planned weatherproofing; do not block legal ventilation just to calm a sensor.
Call a pro if the light still strobes with the door closed and nobody home — that usually means a heat or reflection problem that needs a different mount height or a shielded housing.
Fix: adhesive failure in Australian heat
- Remove the unit, scrape old pad residue, and alcohol-wipe until the cloth stays clean.
- Remount only on a cool surface in the morning; press firmly for a full minute.
- Add mechanical fixings: small screws into a solid nogging, or a magnetic plate on a steel lintel — adhesive becomes the backup, not the only hold.
- Avoid mounting on powdering paint; scrape to sound material or pick a new spot.
- After the next 30°C+ afternoon, tug-test gently from the ladder before you trust it over a car roof.
Book Garden Pie when you are dealing with brittle brick, hollow plasterboard with no backing, or a metal surface that needs drill-and-tap work you are not set up for.
Fix: light drops out while you still need it
- Increase on-time one step at a time until a normal unload-and-bench walk stays lit.
- Add a second puck aimed at the workbench only if the doorway unit cannot see both zones — still keep total parts spend modest.
- Walk your real routes (bins, freezer, tool wall) and mark any shadow pockets; micro-adjust tilt rather than maxing sensitivity.
- Keep storage below the sensor clear so boxes do not become permanent masks.
If you need whole-garage even light for trade work every day, say so when you book — a specialist can advise whether stick-on gear is enough or whether fixed lighting is the safer long-term path (that is separate, wired work).
When DIY is enough vs when to book Garden Pie
DIY is enough when you have a sound mounting surface, a simple battery PIR LED, and a single clear entry path. If the walk test passes twice in a row and the unit is still on the wall after a hot day, you are done.
Book Garden Pie when adhesive will not hold, when dead zones remain after careful aiming, when you suspect you need multiple coordinated units, or when you have decided the garage actually needs hardwired lighting and you want a proper on-site assessment rather than another stick-on experiment. We work as a direct specialist provider for local / on-site help in Australia — not a freelance marketplace — and we cover the regions listed on our service areas page.
For an on-site visit, have the garage reasonably accessible, note the main entry you care about, and keep the motion unit and its manual aside if you already bought one. If the light stores any settings in an app, know the login; for basic PIR bars there is usually nothing to back up. Describe symptoms in plain language (dark at door, false triggers, fallen unit) so the visit focuses on inspection and fix, not guesswork.
Get the garage lighting sorted
You now have a full no-rewire path: choose a modest PIR LED kit, mount on a clean surface, aim at the real walk line, and verify walk-in-on, walk-out-off behaviour in about twenty minutes. Use the issue steps above if the sensor misbehaves or the pad lets go in the heat.
If you want hands-on help in Australia — placement, secure mounting, or a sanity check before you drill — start a conversation through the Garden Pie landing page. Tell us what fails today (no light at the door, overnight flashing, or a unit on the floor), and we will take it from inspection through a clean finish.